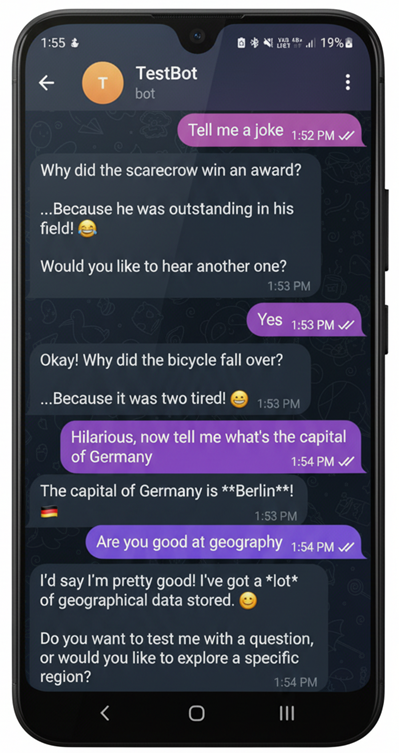
Objective: This guide provides a step-by-step overview of how to build a functional Telegram chatbot that runs on your own computer, using a free, locally hosted Large Language Model (LLM).
Step 1: Create the Telegram Bot
Register the bot with Telegram to get an API key using the BotFather bot.
- Find BotFather: Search for @BotFather on Telegram.
- Create Bot: Send the /newbot command and follow the prompts to set a name and username.
- Get API Token: BotFather will provide a token. This key allows your Python script to control the bot.
Step 2: Set Up the Local AI (Ollama)
Use Ollama to run AI models locally for free. It manages downloading and running the models.
- Install Ollama: Download and install Ollama for your OS. It runs as a background service.
- Download a Model: Choose a model based on your needs for speed vs. intelligence and download it via the terminal.
- Smaller Models (e.g., phi, gemma:2b): Faster, use less memory. Good for prioritizing speed.
- Larger Models (e.g., mistral, gemma:7b): Smarter, but much slower without a GPU.
Use this command to download a model:
ollama pull <model_name>3. Verify Installation: List all local models with this command:
ollama listThe Ollama service runs in the background, making the model available to your script.
Step 3: The Python Script
The Python script connects the Telegram bot to the Ollama AI.
Core Functionality:
- Bot Personality (System Prompt): A “system prompt” variable defines the bot’s personality and rules. The AI uses this to guide all its responses.
# Example system prompt
	system_prompt = """
    		You are a helpful AI assistant.
   		Keep answers friendly and concise.
    		"""
2. Handling Messages: A function is triggered when a user sends a message.
3. Communicating with Ollama: This function sends the user’s message and chat history to the local Ollama service to get a response.
# import ollama
	response = ollama.chat(
	    model="your_chosen_model_name",
	    messages=conversation_history
	)
	ai_response = response['message']['content'].strip()

   4. Implementing Memory (Database): The bot saves chat history to a local SQLite database file for permanent memory. It reads the history before a request and saves the updated history after a response.
Step 4: Run the Bot
Run the main Python script from your terminal to start the bot.
python main.pyThe script will poll for new messages, and the bot will be active.
Step 5: Final Considerations
Understanding the trade-offs of running AI locally is key.
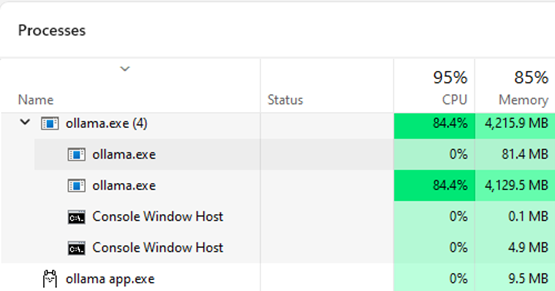
- Speed: Running on a CPU instead of a dedicated GPU is the main bottleneck. This causes slow response times.
- Intelligence: There is a direct trade-off between speed and intelligence. Smaller, faster models are less capable and more prone to making mistakes or “hallucinating”.
- Hardware: Models are resource-intensive. They require significant RAM and can max out your CPU, slowing down your entire computer while generating a response.